The Craft:
Miscellaneous:
The steps to produce the proper fitting
 The
fitting is created roughly with the chasing drill as
described in chapter 9. "Adjusting the size". But in
order to give the fitting its final touch, the wooden shoe
maker uses a series of knives (fig 15).
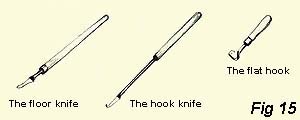
The hookknife is used to remove redundant wood which stayed behind after parbuckling. The wooden shoe maker can't remove all the wood with the drills you know.
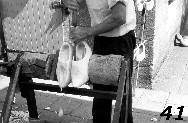
Photo 41 shows that the wooden shoe maker uses the tip of the hookknife on the inner side. He also creates sufficient room for the big toe with this hook (which is important to prevent toe nails from growing into the toe).
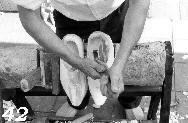 On photo's 42 and 43 the wooden shoe
maker uses the flathook.
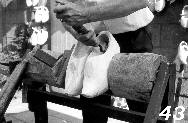 With that knife the wooden shoe maker
creates the platform that serves to support the foot to the
heel. This becomes sort of a basin in which the back of the
foot, the heel, fits exactly.
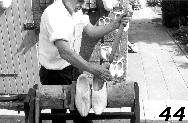 At the
way the wooden shoe maker holds the tools, one can see how
it is wielded.
At the
way the wooden shoe maker holds the tools, one can see how
it is wielded.A good fitting for a high wooden shoe is more difficult to create than the fitting for a low wooden shoe. This is because not only the floor of the wooden shoe must carry the foot well, but also the hood of the wooden shoe needs to have the proper profile.
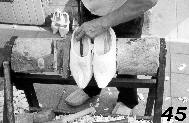 Photo
45 shows how the floorknife is used to create room for
the little toe and the joint of the big toe.
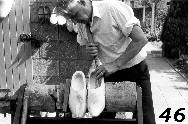 Photo 46
shows how the floorknife is used to do this. The wooden
shoe maker takes it, as shown, in his hands and takes care
that the shaft is supported by his shoulder and his neck.
This in contrast with the flathook which is wielded freehanded.
Photo 46
shows how the floorknife is used to do this. The wooden
shoe maker takes it, as shown, in his hands and takes care
that the shaft is supported by his shoulder and his neck.
This in contrast with the flathook which is wielded freehanded.Instead of the floorknife, sometimes a so-called profile knife is used, but as it is the case with all these knives, some tasks may be performed with several of them.
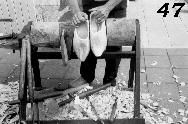 After being parbuckled, the wooden
shoes are pushed out of the boring bench with a firm flick
of the hand.
After being parbuckled, the wooden
shoes are pushed out of the boring bench with a firm flick
of the hand.All chips on the floor are coming from only one pair of wooden shoes. From this alone you can tell how many times any of the tools was used (photo 47).


